How to Create a High-Converting Google Forms Quiz That Actually Works
Learn how to build a Google Forms quiz that captures high-quality leads. A practical guide to creating interactive content that converts.
So, you've built the perfect PDF lead magnet. You poured your heart and soul into a definitive guide, a comprehensive checklist, or a game-changing whitepaper. You hit publish, watch the downloads roll in, and then… nothing.
You're not alone in this. That beautifully designed PDF often ends up in a digital graveyard—the downloads folder—and you're left wondering what went wrong. It's a frustratingly common story for so many of us.

Here's a thought that might sound a little controversial: a simple, free Google Forms quiz can often blow those complex lead magnets out of the water.
The secret? It all comes down to one thing: active participation.
Why A Simple Quiz Beats Complex Lead Magnets
A PDF is a monologue. You broadcast information, and your audience passively consumes it (if you're lucky). A quiz, on the other hand, is a conversation. It’s a powerful psychological shift that flips the script.
Quizzes work because they tap directly into how people are wired:
- They spark curiosity. People love learning about themselves. A quiz titled "What's Your Marketing Blind Spot?" is infinitely more clickable than "Download Our Ultimate Marketing Guide."
- They deliver instant gratification. Users get immediate, personalized results. This quick win feels rewarding and creates a positive first impression of your brand.
- They create a sense of investment. By answering questions, users are putting a little skin in the game. That small effort makes them value the outcome and actually want to see their results.
A quiz turns a passive browser into an active participant. That simple change is the bedrock of higher engagement and better leads. It builds a connection through a shared experience, not just a one-way information dump.
Let’s really see the difference by comparing them side-by-side.
Static PDF vs Interactive Google Forms Quiz
| Feature | Static PDF Lead Magnet | Interactive Google Forms Quiz |
|---|---|---|
| User Engagement | Passive. One-way info delivery. | Active. Two-way conversation. |
| Personalisation | Generic, one-size-fits-all content. | Tailored results based on user input. |
| Data Collection | Limited to name and email. | Rich zero-party data (pain points, goals, etc.). |
| Lead Quality | Often low-intent "freebie seekers." | Higher-intent leads who are actively engaged. |
| Time to Value | Delayed. Value is realised after reading. | Instant. Value is delivered immediately. |
See the gap? The quiz doesn't just collect a lead; it starts a relationship and gives you the exact data you need to nurture it effectively.
When I switched from the "download-and-forget" PDF model to an interactive quiz, the results were night and day. Not only did the number of leads jump, but the quality was on another level. The quiz answers gave me priceless insights into my audience's biggest challenges before I even sent the first email.
This isn’t about just creating another piece of content. It’s about building a smarter lead generation engine with a tool you already have. Of course, a great quiz is even more powerful when you combine it with proven lead generation best practices.
If you're stuck wondering why your current lead magnet isn't performing, it might be time for an objective look. There’s a free tool I built called Magnethive (at https://magnethive.io?ref=post) that can run a full audit. It gives you a comprehensive report with AI-powered ideas to improve your ROI, completely free. It’s time to stop letting your leads gather digital dust and start having real conversations.
Alright, let's get down to business. Theory is great, but building something that actually pulls in leads is where the magic happens. We're going to walk through the exact, field-tested blueprint for creating a Google Forms quiz that converts.
This isn't your average tutorial. The small details we're about to cover are what separate a quiz that gets a handful of pity-clicks from one that becomes a reliable lead generation machine. We're not just throwing questions on a page; we're designing an experience.
This simple interface is more powerful than most people realize. You don't need fancy, expensive software to get started. The goal here is to use these basic tools to start a real, interactive conversation with your future customers.
Nailing the Foundational Settings
First thing's first. Head over to forms.google.com, start a new blank form, and before you even think about writing a question, go straight to the Settings tab. Seriously, don't skip this.
This is where you'll find the toggle for "Make this a quiz". This one click is the most important step. It unlocks the ability to assign point values and give automated feedback—the secret sauce for delivering that instant value everyone wants.
You'll see a couple of options for releasing the score:
- Immediately after each submission: This is the one you want for lead generation. It gives people the instant gratification they came for.
- Later, after manual review: Ignore this. It’s for teachers, not marketers.
Now, scroll down a bit. Untick the boxes for "Missed questions" and "Correct answers." You’re not trying to give someone a test; you don’t want them seeing a bunch of red 'X's. The goal is to guide them, not grade them. However, keep "Point values" ticked. This adds a nice layer of transparency, showing them how their result is being calculated.
Writing Questions That Actually Convert
The questions you ask—and how you ask them—will make or break your quiz. Your job is to make this as easy as possible. Stick to simple formats that someone can tap through on their phone without thinking too hard.
- Multiple Choice: This should be your default. It’s quick, easy, and requires zero effort from the user.
- Checkboxes: Perfect for when someone can have more than one right answer that applies to them.
- Dropdown: Use this for long lists, like countries or industries, to avoid a massive, cluttered multiple-choice question.
Whatever you do, stay away from open-ended "Short answer" or "Paragraph" questions at the beginning. They create friction and are a surefire way to get people to drop off. If you absolutely must have one, save it for the very end.
For every question, click on the Answer Key to set the point values for each choice. This is how you'll score the responses and ultimately deliver a personalised result. You can add feedback for each answer, but honestly, the main event is the final outcome screen.
A quiz isn't an interrogation; it's a guided discovery. Every question should feel like you're helping the user understand their own problem better, leading them naturally to the solution you offer.
The All-Important Email Capture
Here we go—the moment of truth. You have to ask for their email without scaring them off. The best time and place for this is on a brand new section, right before you show them their results.
This is how you set it up:
- Add a "Short answer" question. Title it something like, "Where should we send your personalised results?".
- Switch on "Response validation" and make sure it’s set to check for a valid email format.
- And the most crucial part: toggle the "Required" switch. This guarantees you get the lead.
The beauty of Google Forms is its familiarity. Millions of people use Google Workspace, so there's an inherent trust built-in. This familiarity lowers the barrier for someone to hand over their email.
Now, Google Forms is a fantastic place to start, but as you scale, you might want to look at more specialized platforms. There are tons of tools out there that help you create online quizzes with more advanced features. For now, though, mastering these fundamentals will give you a rock-solid foundation.
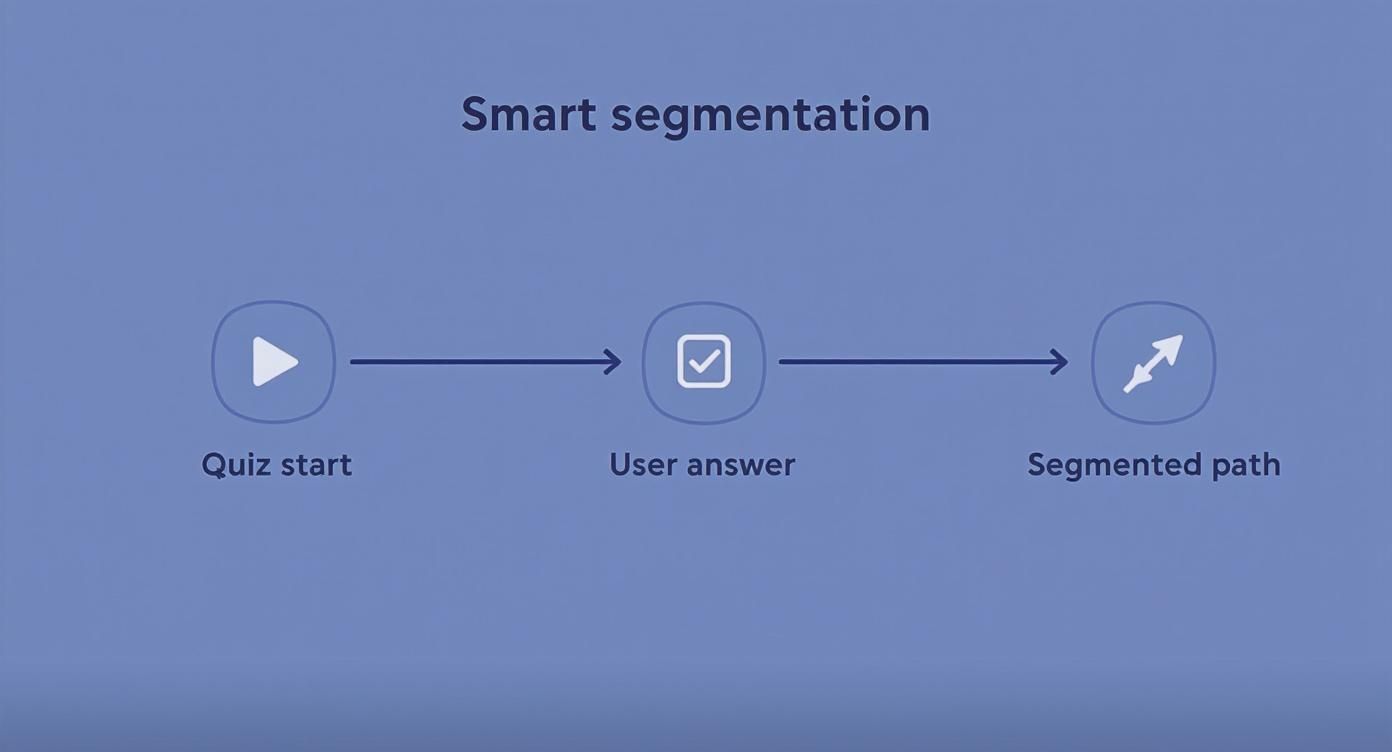
Using Advanced Logic for Smarter Lead Segmentation
A basic quiz gets you a lead. A smart quiz, on the other hand, gets you a qualified, segmented lead who feels like you get them from the very first click.
This is where we go beyond just grabbing an email and start turning your Google Forms quiz into a proper segmentation engine.
The secret sauce is conditional logic. Inside Google Forms, they call this feature "Go to section based on answer". It sounds simple, but it's the key to building personalised quiz paths that make the experience feel incredibly relevant to each person.
Instead of dragging everyone down the same boring, linear path, you create branches. Think of it as a "choose your own adventure" for your leads. This isn't just a gimmick; it's a dead-simple way to respect their time while gathering much deeper insights.
Creating Personalised Quiz Journeys
First, you need to break your quiz into Sections. In Google Forms, you can add a new section from that little floating toolbar on the right. Each section basically acts like a separate page or a new chapter in the conversation.
With your sections in place, you can start applying the logic.
For any multiple-choice or dropdown question, click the three-dot menu in the bottom right corner and choose "Go to section based on answer."
This pops up dropdown menus next to each answer, letting you decide exactly where to send the user based on their choice.
- User A says they're a beginner. Boom, you send them to a section with questions tailored to their needs.
- User B picks an answer that shows they're an expert. You let them skip the basic stuff and jump straight to an advanced section.
This simple mechanic completely changes the game. You're no longer just firing questions into the void; you're actively listening and responding in real-time. The quiz stops feeling like a form and starts feeling more like a one-on-one consultation.
A Practical Scenario: The Marketing Agency Quiz
Let's say you're a marketing agency building a quiz called: "What's Your Biggest Marketing Bottleneck?" The goal isn't just to get an email; it's to instantly understand a prospect's main pain point.
Your first question could be: "Which area of your marketing needs the most attention right now?"
- Getting more website traffic.
- Converting traffic into leads.
- Improving customer retention.
Based on their answer, you use conditional logic to send them down three completely different paths.
Path 1: Website Traffic They choose "Getting more website traffic," and you send them straight to Section 2. The questions here are all about their current SEO, content strategy, and ad spend. You’re digging into the specifics of their problem.
Path 2: Lead Conversion If they pick "Converting traffic into leads," they get routed to Section 3. This section hammers on their landing pages, calls-to-action, and lead magnet performance. Every question is hyper-relevant to their conversion challenges.
Path 3: Customer Retention And if they go with "Improving customer retention," they land in Section 4, which asks about their email marketing, customer onboarding, and community-building efforts.
100% Free Lead Magnet Audit
Our AI analyzes your website and delivers custom growth strategies in seconds.
The Power of Pre-Segmentation
By the time someone finishes the quiz, you haven't just captured a lead. You've automatically segmented them into one of three distinct buckets: "Traffic Focus," "Conversion Focus," or "Retention Focus."
This kind of pre-segmentation is a massive time-saver and gives you a serious strategic edge.
When these leads hit your CRM or email platform, you already know their biggest headache. You can skip the generic welcome email and immediately send them highly targeted content, case studies, or service info that speaks directly to their needs.
This is how a simple Google Forms quiz becomes a powerful engine for lead qualification. You’re not just collecting contacts; you’re collecting context. And that context is what allows for a far more effective follow-up, dramatically increasing your chances of turning that lead into a customer.
How to Automate Your Lead Nurturing Workflow
Getting a new lead from your Google Forms quiz is great. But that's all it is—a starting point. The real magic, the part that actually grows your business, happens in the follow-up. And if you're still manually downloading CSV files from Google Sheets to do it, you're already losing.
Think about it. There's a delay between someone finishing your quiz and you sending that first email. In that gap, their excitement fizzles out. Your hot lead goes cold. You're left with a clunky, reactive process that leaks potential customers every single day. The win isn't just collecting the lead; it's building a seamless, automated bridge from that first "hello" to your entire marketing system.
Bridging the Gap with Automation Tools
This is where you stop seeing your Google Form as a standalone tool and start treating it as the first domino in a powerful, hands-off workflow. Tools like Zapier and Make.com are the essential glue that connects your quiz to everything else you use.
They operate on a dead-simple principle: When This Happens, Do That.
- Trigger: A new response hits your Google Form.
- Action: Add that lead to your CRM, tag them based on their answers, and kick off a hyper-relevant email sequence. Instantly.
This isn't about shaving a few minutes off your admin time. It's a fundamental shift. It's about nurturing every single lead the moment they're most engaged, at scale, without you lifting a finger after the initial setup.
Just look at the screenshot below. This is a tiny glimpse of what's possible when you plug Google Forms into a tool like Zapier.
You're not just moving data; you're connecting a simple form to powerhouses like HubSpot, Mailchimp, or even Slack for instant notifications to your sales team.
Building Your First Automation Workflow
Let’s get practical. Remember that marketing agency quiz from the last section? Someone just finished it and landed in the "Traffic Focus" bucket. Here’s the exact automated workflow we can build in a tool like Zapier to handle it.
The Trigger: A New Quiz Response
First, you connect your Google account and point the automation tool to the specific Google Sheet linked to your form. The trigger itself is simple: “New Spreadsheet Row.” That’s it. Every time a quiz is completed, a new row appears, and the entire system springs to life.
Action 1: Send the Lead to Your CRM
Next, connect your CRM (think HubSpot, ActiveCampaign, Mailchimp). Now you map the data fields. It's like telling the system where everything goes:
- The
Email Columnin your Sheet goes to theEmail Fieldin your CRM. - The
Name Columnin your Sheet goes to theName Fieldin your CRM.
But here’s where the segmentation we set up earlier pays off. We add a simple filter: “Only continue if… the 'Biggest Challenge' column contains the word 'Traffic'.” If it doesn't match, this specific automation stops right there.
Action 2: Tag Them for Perfect Segmentation
Once the lead is in your CRM and has passed the filter, the next action is to tag them. We’ll automatically apply a tag like quiz-traffic-focus. This little tag is everything. It's the key to sending content that feels personal and relevant, not generic. It’s like knowing exactly what’s on their mind before the conversation even starts.
Action 3: Kick Off a Personalised Email Sequence
Finally, enrol this newly-tagged contact into a specific email sequence. Instead of a bland "Thanks for taking our quiz!" email, they get the first email in a series titled "3 Proven Ways to Drive More Organic Traffic."
This hands-off system ensures that from the second a user gets their results, they are on a nurturing path that speaks directly to the problem they just told you they have. That kind of immediate, relevant follow-up is what builds trust and moves people closer to a sale.
When you connect an everyday tool like Google Forms to a smart automation workflow, you build a lead generation machine that is so much more than the sum of its parts. For a deeper dive into making these connections, check out our guide on marketing automation and CRM integration. You're not just building a quiz anymore; you're building a conversation starter that works for you 24/7.
Optimising for Conversions with Better UX and Copy
Let's be blunt: a technically perfect quiz with flawless automation can still crash and burn. If the experience feels clunky, confusing, or just plain boring, people will bail. This is where we focus on the human element—the design, the flow, and the words you use to guide someone from a curious clicker to a qualified lead.
Think of your quiz as an experience, not a form. Every single step, from the landing page to that final results screen, needs to build momentum and keep your user hooked. A poor user experience (UX) creates friction, and friction is the silent killer of conversions.
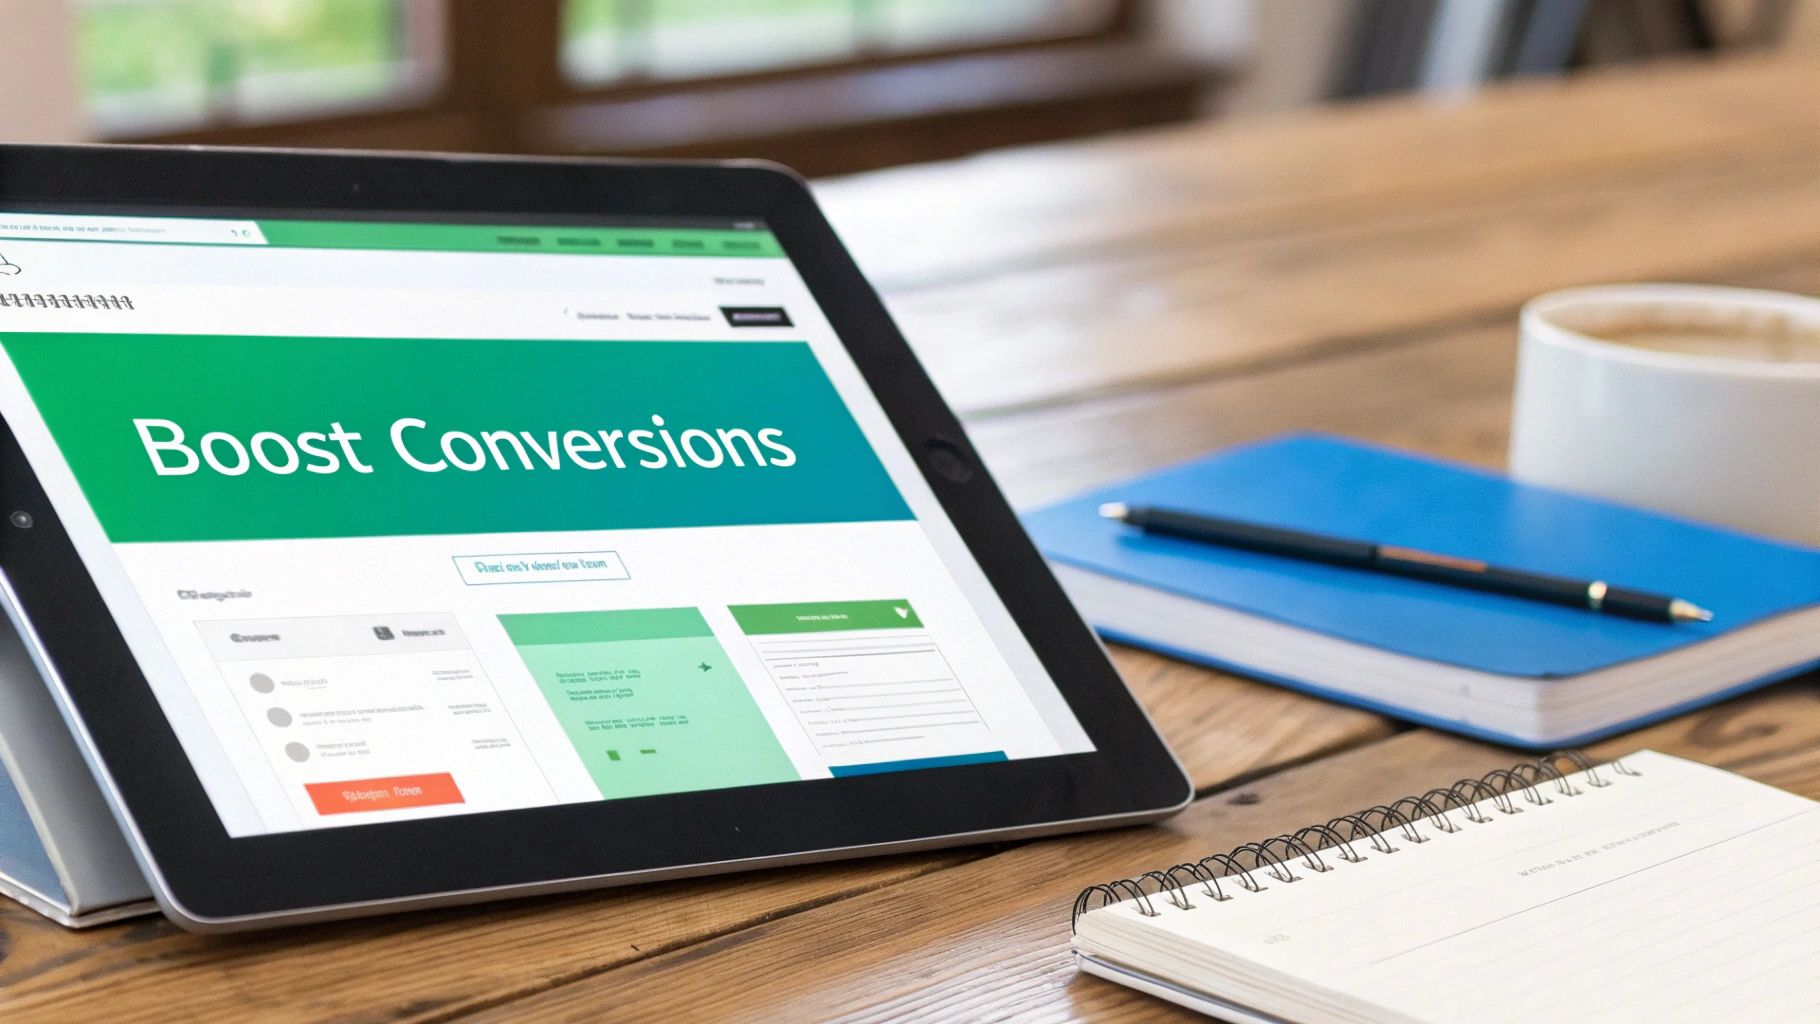
This screenshot nails the kind of clean, focused interface you should be aiming for. A clear headline and one compelling call-to-action is all you need. It removes every distraction. The same principle applies to your quiz—get people into the experience with as little resistance as possible.
Designing a Frictionless Quiz Experience
The goal is to make taking your Google Forms quiz feel effortless and even a little bit fun. You'd be amazed how small design choices can have a massive impact on your completion rates. I'll say something controversial: most people obsess over advanced features and completely ignore the basics of a smooth user journey.
Here are the non-negotiables for a great quiz UX:
- Show a Progress Bar: People like to know where they are and how much is left. While Google Forms doesn't have a built-in progress bar, you can easily fake one by titling your sections "Step 1 of 4," "Step 2 of 4," and so on. It’s a simple trick that manages expectations and stops people from giving up halfway through.
- Stick to One Question Per Page: Don't throw a wall of questions at your users. It's overwhelming. Use the "Sections" feature in Google Forms to break up the quiz so only one question appears at a time. This creates a focused, conversational flow that feels more like a chat and less like an exam.
- Build a Compelling "Front Door": Your quiz doesn't just exist in a vacuum. It needs a dedicated landing page that sells the value of taking it. You need a killer headline and a clear call-to-action that sparks curiosity and promises a worthwhile outcome. For a deep dive on this, our guide on designing a high-performing landing page is a great place to start.
A great quiz feels less like a survey and more like guided self-discovery. Every click should feel like a step toward a meaningful insight, not just another field to fill out.
The Art of Writing Copy That Converts
Your words are the engine of your quiz. The right copy pulls people in, keeps them engaged, and makes them want to give you their email address to see the results. Bland, corporate-speak is the fastest way to get someone to close the tab.
The widespread use of tools like Google Forms means people are familiar with the format, but it also means you have to work much harder with your copy to stand out from the sea of generic forms. You can explore data on the adoption of feedback tools on trends.builtwith.com, which shows just how common these tools are.
So, how do you sharpen your copy at every stage of the quiz?
Your quiz copy isn't just about asking questions; it's about crafting a narrative that guides the user from curiosity to a valuable "aha!" moment. Here's a quick checklist to make sure your words are working as hard as your automations.
Quiz Copywriting Checklist
| Element | Key Objective | Example Tactic |
|---|---|---|
| Quiz Title | Spark immediate curiosity and promise a personal benefit. | Use a question format, like "What's Your #1 Marketing Blind Spot?" instead of "Marketing Strategy Survey." |
| Introduction | Set clear expectations and sell the value of the outcome. | Briefly explain what they'll discover and why it matters to them. "In 2 minutes, find out..." |
| Questions | Make it feel like a conversation, not an interrogation. | Write in a natural, human tone. "Which of these brings in the most customers?" beats "Indicate your primary revenue channel." |
| Answer Options | Ensure they are clear, distinct, and easy to choose. | Avoid jargon and overlapping choices. Use images or icons to make options more engaging. |
| Lead Capture | Frame the email submission as the gateway to the valuable results. | "Enter your email to get your personalised results and a free action plan." |
| Results Page | Deliver a genuine insight and provide a clear next step. | Give them a "type" or identity (e.g., "The Content Catalyst") and explain what it means, then present a relevant CTA. |
By treating each piece of copy with intention, you transform a simple form into a powerful conversion machine. Interactive tools like these are not just about lead quantity; they're about starting meaningful conversations that lead to better customers, something a static PDF or a generic AI-generated report can rarely accomplish.
Got Questions? I've Got Answers
You're probably wondering about a few things. Can this really work? What are the limitations? I get these questions all the time. Let’s tackle the big ones so you can get started with confidence.
Can a Google Forms Quiz Actually Look Professional?
Absolutely. But you're not going to win any web design awards with it.
The secret isn't about fancy graphics. It’s about creating a smooth, logical, and helpful user experience. You can easily customise the header image, colours, and fonts to match your brand. A clean, well-thought-out Google Forms quiz that delivers real value will always beat a clunky, over-designed, and expensive alternative. Every single time.
How Do I Gate the Results Behind an Email Opt-In?
This is the most critical part of the whole setup. Get this wrong, and you're just entertaining people, not generating leads.
It’s surprisingly simple. Just before you reveal the results, create a new section in your form dedicated to capturing their contact info—name and email are all you need. The crucial move here is to toggle the email field to ‘Required.’ No exceptions.
Then, you'll use conditional logic to ensure they must fill out that section to see their results. Think of it as a fair trade. You're giving them a personalised insight, and they're giving you their email in return. Most people totally get this and are happy to do it.
Look, don't get hung up on the tool's limitations. Your focus should be on creating a killer interactive experience that gives someone an immediate 'aha!' moment. If you can help someone solve a problem, they will gladly give you their email to get that insight.
Is It Possible to Show Different Results Based on Score?
Yes, but this is where you have to get a bit creative. Google Forms wasn't built to be a sophisticated quiz platform with complex scoring logic, so we need a workaround.
The simplest way is to create different 'sections' within your form, with each section acting as a unique results page. For example, you could have a "Results for Beginners" section and a "Results for Experts" section.
On your final question, you’ll use the 'Go to section based on answer' feature to send users to the right results page. It's a bit manual, but it works. If you're looking for true score-based automation and more dynamic outcomes, you'll eventually want to connect Google Forms to a tool like Zapier or Make. That's where the real magic happens.